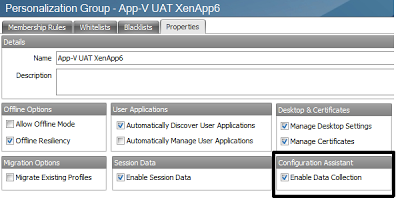
You will get a warning at this stage about the increased overhead of Data Collection, simply accept the warning and continue.
Now at this stage a lot of people would add the application they are trying to personalize into the Applications | Application Categories | User section and then whitelist it for their target Personalization Group, but this shouldn’t be done. The Config Assistant will only gather data on applications that aren’t whitelisted, and when you create the template, any existing entry in the Application Categories | User section will be overwritten anyway, so neither of these actions is necessary.
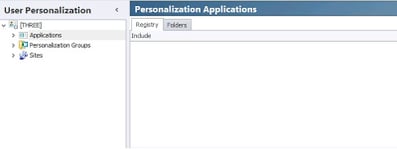
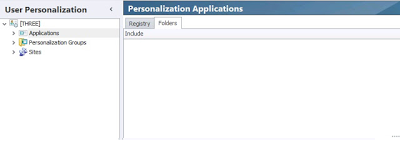
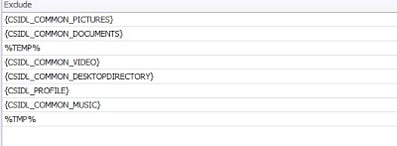
The next step would be to make sure that the Global Includes and Excludes in your Personalization Server are set to the lowest level possible (i.e. – nothing and everything). Now, as mentioned earlier, please don’t blithely change these options in an environment where applications are already personalized and being used – there’s a very good chance you will break the existing Personalization. Ideally, you should set these options as you begin your initial Personalization discovery process. You will find that each application will take a little bit more work when you use the Global Includes and Excludes in this way – but after a period of time, you will realize your Personalization database is leaner and meaner than it would have been with the default options left set. In some environments, where the Personalization database has become bloated and unwieldy, I have seen clients who opted to create a new Personalization database and re-import all their applications by following this process, and then moved their existing users across to the new database.
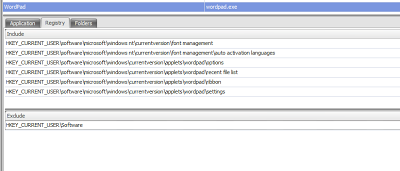
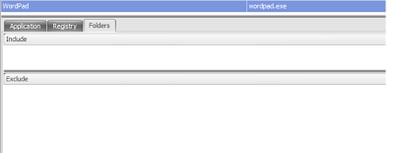
The Global Includes and Excludes (which are found in the root of the Applications tab, on the left-hand pane in the User Personalization part of the Environment Manager console) configured in this aggressive format should look like this:-
I must proffer an apology to Richard Thompson at this point. As I am currently working on a live system with no access to my test lab, I had to steal the previous four screenshots from his own blog article regarding best practices for Personalization. It’s a good article and can be found at this link. Sorry Richard 🙂
Next we are going to pick an application to capture data for. In the interests of keeping this article as simple as possible, we will go for the time-honoured lite version of Word that nobody ever uses but is present on just about every Windows system since the 90s – Microsoft WordPad.
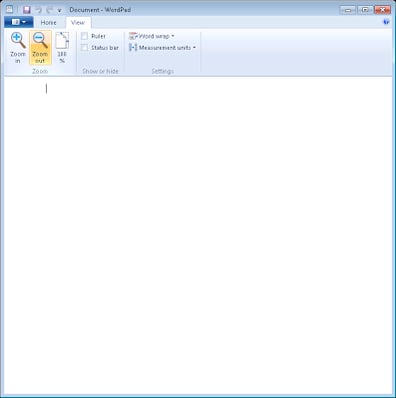
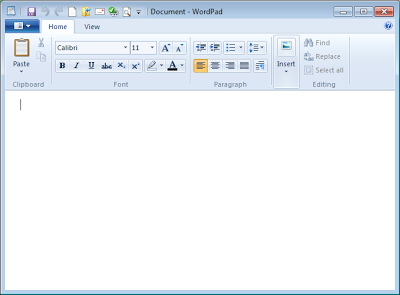
First we will log on as a test user and run WordPad. Initially we will run it and find a setting that we can change so that we can see where it writes these settings to. Ideally, with every application you should explore as much functionality as possible – particularly functionality that interacts with other applications and other parts of the operating system. For purposes of this demo, first we will open WordPad as normal
and then we will turn off the options that show the rulers and the status bar, before adding a few items to the Quick Access Toolbar
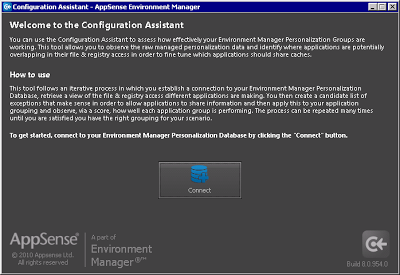
Once we’ve done that, we need to make our way across to the system where we have installed the Config Assistant. The installation of the Config Assistant was covered in the previous article I did on this, so we won’t need to go through that again now. Start the Config Assistant as normal
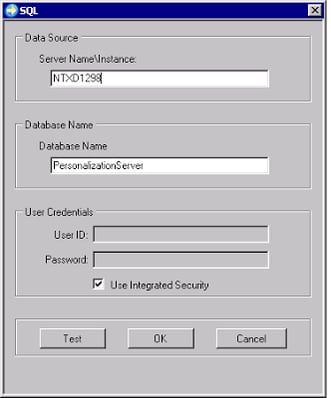
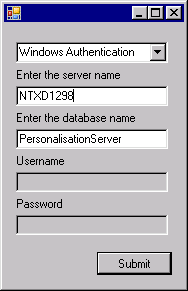
and click the Connect button, which shows you the following screen
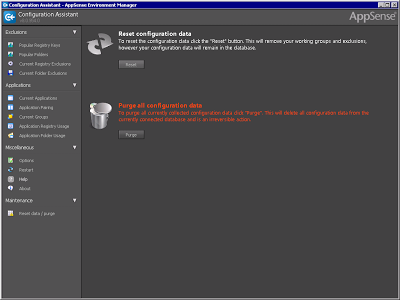
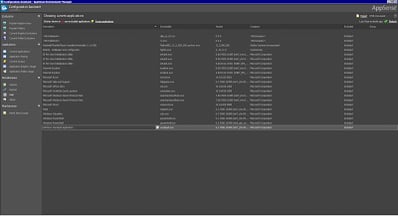
Now we can click on the Current Applications menu on the left-hand side and see if any data has been collected for our WordPad application.
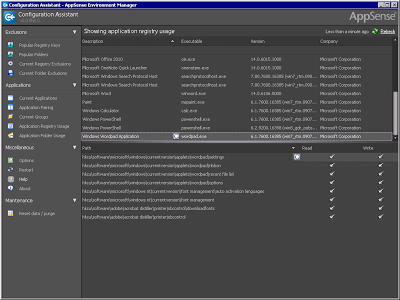
Excellent! There it is. So now I will click on the Application Registry Usage menu item to see what Registry keys it has been reading from and writing to (the Reads and Writes are denoted by the respective columns in the screenshot)
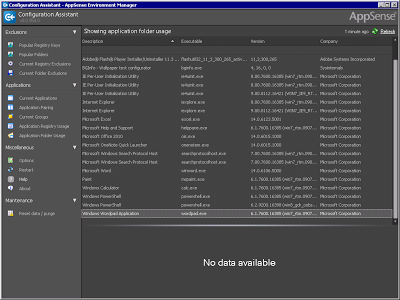
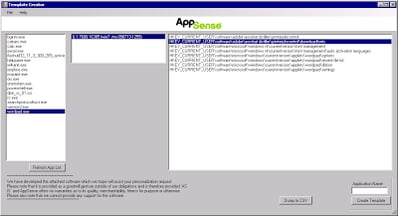
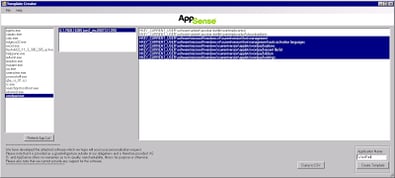
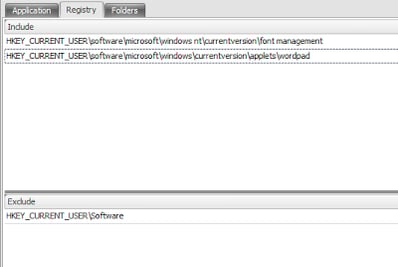
The Template Creator interface shows you a list of applications which data is available for on the left, the version numbers in the centre, and the captured Registry keys and folders on the right. You can select the application you require and the version number by clicking on them, and then you can multi-select the Registry keys and folders you wish to add to the template. In this example, we don’t want to keep the Registry keys that reference Adobe Acrobat (it’s interesting to see some of the strange places that do get written to by applications!), so we will select the rest of the Registry keys as shown below
and then click the Create Template button to save it to an XML file. The interface will ask you for a location and filename, as you’d expect.
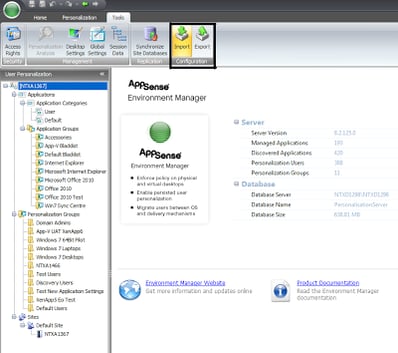
Next we head back to the Environment Manager Console window, in the User Personalization section, and locate the Tools | Import button
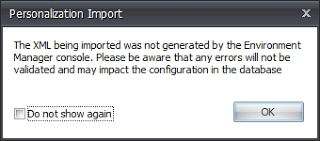
Select the XML file you created earlier for import. Next you will be presented with the following warning, which you can suppress if you are planning on doing a lot of these. As you should be working on a test or pre-live database with a good backup strategy, you shouldn’t need to worry too much about anything going awry.
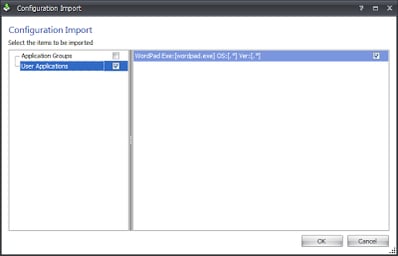
Then you will see the Configuration Import window. As we haven’t grouped any applications together, we opt not to import the Application Group, simply the User Applications. Naturally, if you had used the Config Assistant to group some applications up, you should use the Application Groups option.
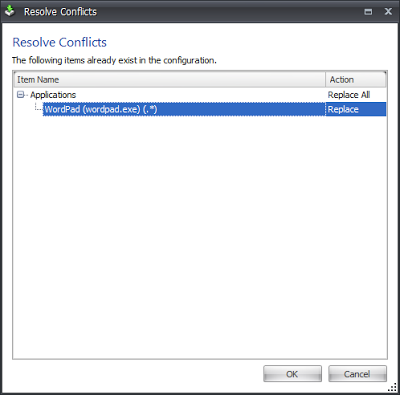
Now, as I was doing this to a test database that already had some applications added to the User section, I didn’t realise wordpad.exe already existed in there. But handily, this gave me a dialog that you might see if you’re in the same or a similar situation. When a conflict is detected, you can opt to Replace or Skip – I’ve obviously selected the Replace option
So now for the big question – will the Personalization Server now save my data? Well, I log back in as my test user, run WordPad again and hide the rulers as well as adding lots of items to the Quick Access Toolbar – and then I close WordPad and log out. When I log in again and run WordPad, what do I see?
Excellent! As you can see from the screenshot, all of the Quick Access Toolbar is being restored, and I also don’t see the rulers or the status bar.
So, now you can take this process and apply it to all of your applications to get them Personalized in as streamlined a way as possible. Personalization done in this way takes time and effort – but it is worth it, as you maintain good application load and response times, and keep the Personalization database from growing beyond control.
I think it would be an idea for Personalization Server to be configurable in a couple of different modes – POC Mode, which would turn on a lot of Global Includes and Excludes like it does at the moment, and Production Mode, which makes the defaults as we have configured in the article you’ve just read. That’s something for AppSense to look into for future releases maybe, I will certainly try and run it by them.
Additionally, I am hoping to publish a few XML files soon which should allow you to import the settings for commonly-used applications into your Personalization Server console which should hopefully reduce the amount of time it takes to get a Personalization infrastructure up and running. I am currently testing a few of these and should have some published in the near future.
UPDATE – it actually transpires that configuring Global Includes and Excludes to “zero” as noted above stops the Config Assistant from being able to collect data (see the Comments below). If you’re using the Config Assistant, you will need to reinstate the Global settings as mentioned below. When you turn off Data Collection, you can then revert to the minimal Global settings….or even enable Data Collection only on a separate Personalization Server instance instead.

